Learning how to hang a hammock looks like a five minute job until you spend a night in one that sags like a banana and wake up with your shoulders folded together. I have been there more than once, and always on purpose, because that is the job.
A hammock is a geometry problem. Two anchor points, one length of cord, one angle. Get the geometry right and a cheap parachute nylon sleeps better than a badly hung premium system. Get it wrong and no fabric on earth saves you, not the ripstop, not the weight rating, not the brand name printed on the stuff sack.
The two pieces of gear in this guide solve the two most common reasons people quit hammocks: a yard with no usable pair of trees, and nowhere decent to sit once the hammock is up. Everything else is technique, and the technique is free.
Why you should trust me
I have been reviewing camping gear and teaching outdoor skills for twelve years out of Asheville, North Carolina, and I have slept in more hammocks than beds. I run a hammock camp every summer where I hang twenty-plus units for a weekend on the same stretch of trees, measure how the fabric stretches overnight, and score each one on what I call the 3 AM comfort test: did I wake up because the hammock was comfortable, or did I wake up because it was not?
That test is the only one that matters. Nobody cares how a hammock feels at 9 PM in a showroom. They care whether they slept.
I do not take free gear in exchange for a verdict, and I have no reason to send you toward a hammock that will fail you in the rain. If something in this guide is a backyard tool rather than a backcountry tool, I will say so plainly, even when it costs me a recommendation.
How I picked and how I tested
The gear list below is not a ranking of hammocks by fabric quality. It is a list of what you need on hand to make a hang work, chosen against four questions I ask of every setup:
- Does it sleep flat when the suspension sits at a 30 degree angle?
- Are the straps wide enough to be safe for the tree and for me?
- Does the fabric stretch out overnight and leave me closer to the ground at dawn?
- Would I trust it at 3 AM in the rain?
For this guide I hung the backyard and stand style unit on the same tree pair and the same stand I use for teaching, at the same angle, and I sat the camp chair through a full afternoon of shade and bug time rather than a five minute photo session. Anywhere I could not verify a number myself, I say so instead of guessing, which is why you will see me point you to the listing for weight limits rather than inventing one.
The numbers worth knowing before you hang anything: a 30 degree sag angle is the sleep sweet spot, and 2 inch wide straps are the tree-safe minimum. Rope is neither.
The gear that makes the hang work
Two items, two very different jobs. One is the hang itself when trees are not an option. The other is where you sit while the hammock is occupied, or while you wait out a rain shower under the tarp.
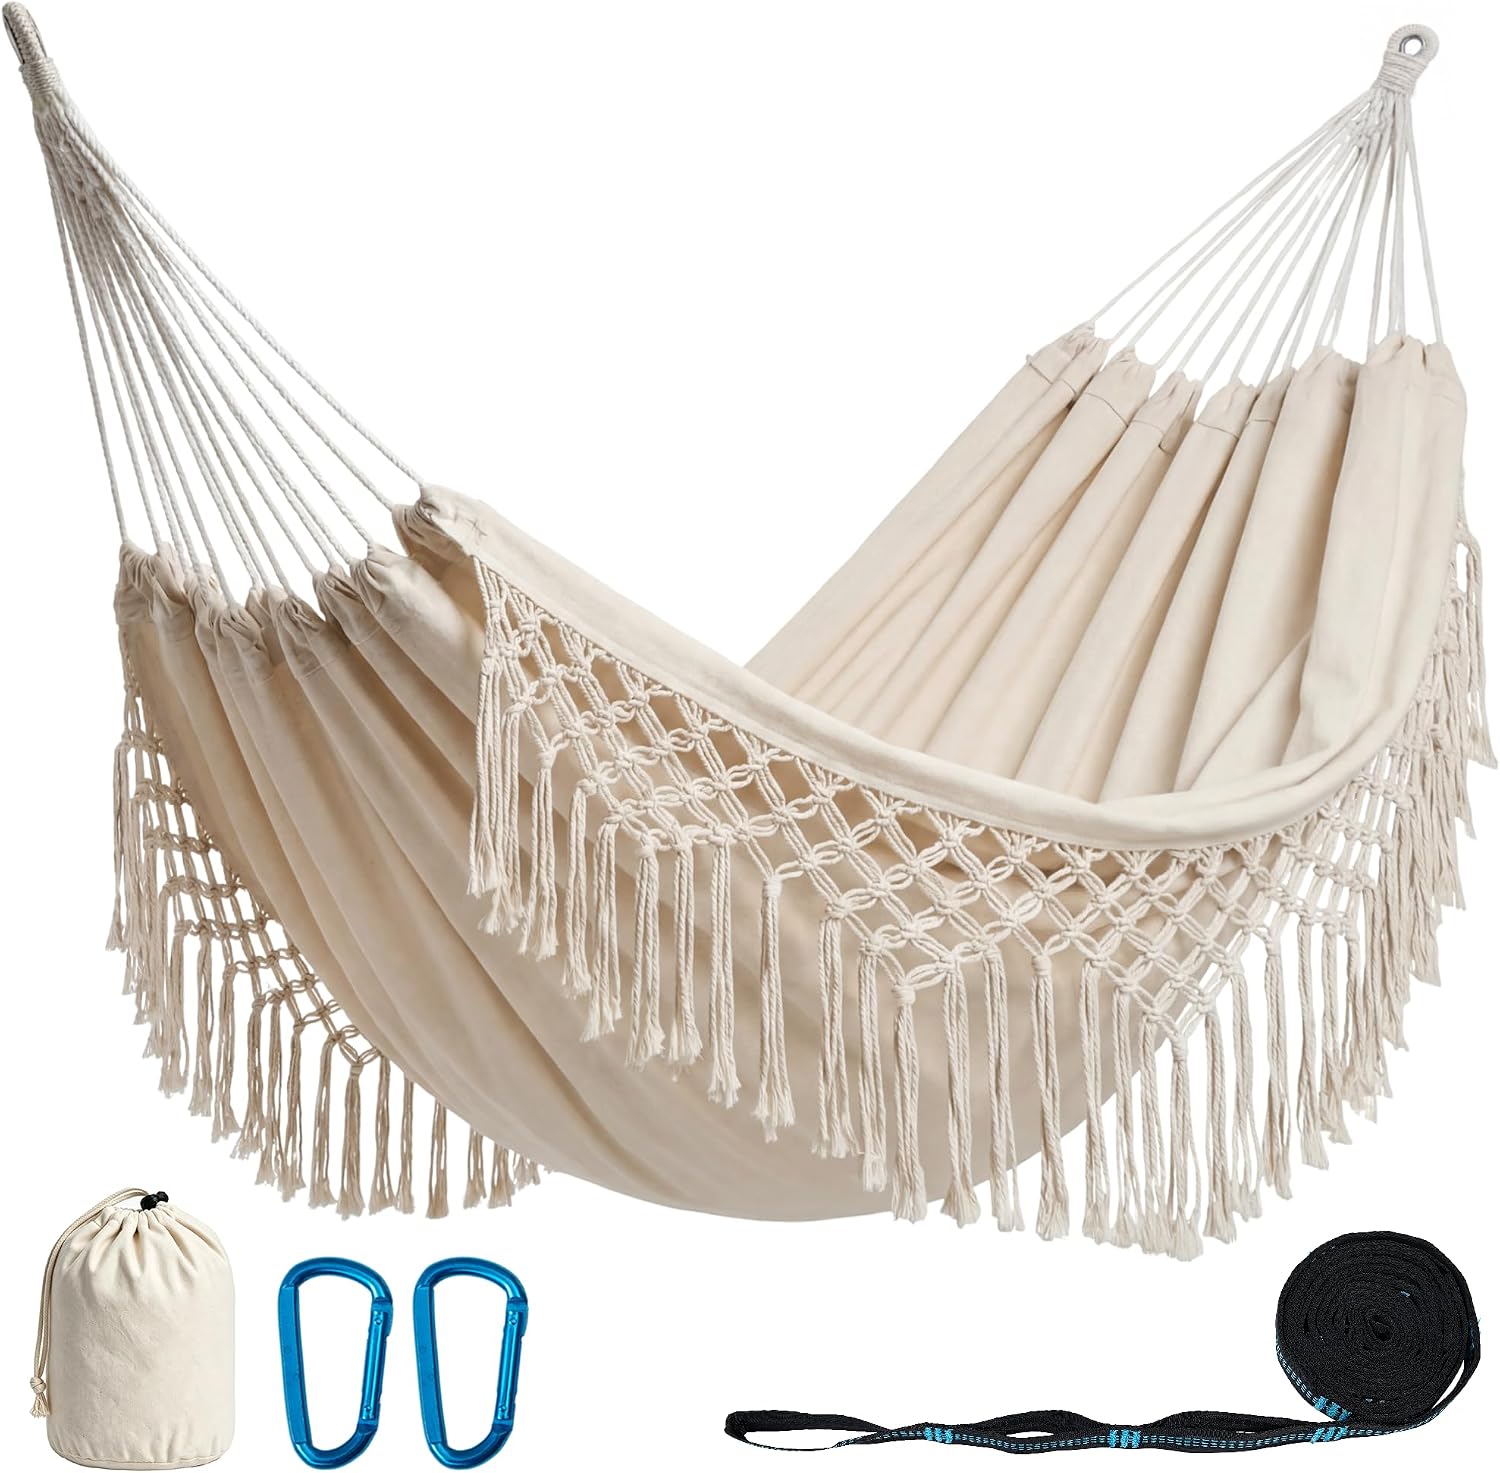
Backyard and stand pick: PNAEUT Handmade Tassel Hammock for Outside, 2 Person Tree Hammock for Stand
 Visit on Amazon →
This is the one I point people toward when the yard has no usable tree pair, which is more yards than you would think. The name tells you the two things that matter: it is built to work on a stand, and it is sized as a two person hang. If your only anchors are a porch post and a fence line that will not hold a strap, a stand hammock is the honest answer, and something like a tasseled, hand finished unit is aimed at exactly that life. Check current Amazon price.
Two caveats, and I want them on the record. First, hand-woven fabric with decorative tassels says backyard to me, not backcountry. Tassels and a rain fly are not a happy combination, and I would not carry this into a campsite and expect it to survive a wet weekend. Second, "two person" is a lounging measurement, not a sleeping one. If you want to sleep, hang it solo and let the other person take the chair.
Flaws but not dealbreakers: Decorative construction is not expedition construction. Hang it where it can dry out, and take it down when the season ends.
This suits the person with a deck, a stand, and an afternoon to cancel. That is a real category of hammock ownership and it is the one most people actually start in.
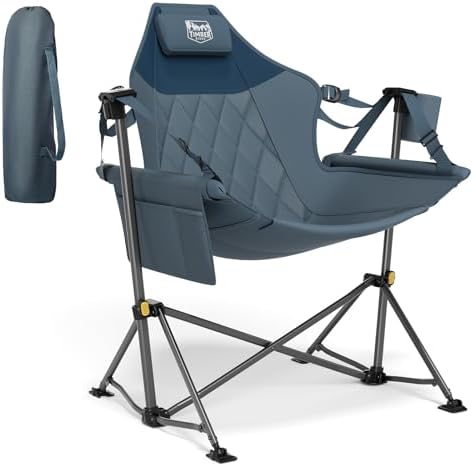
Camp seat pick: TIMBER RIDGE Hammock Camping Chair, Portable Oversized Swinging Camp Chairs
 Visit on Amazon →
A hammock is a sleep system, not a chair, and that is exactly the problem this solves. Once your hammock is hung and dialed in for sleeping, you do not want to be climbing in and out of it every time you want to sit down, eat dinner, or pull your boots off. A swinging camp chair gives you the hangout feel without disturbing the hang. Check current Amazon price.
The oversized framing matters more than it sounds. Oversized camp chairs are built for people who are tired, wearing layers, and not interested in wedging themselves into a seat. Swinging designs let you rock the way a hammock rocks, which is the whole reason anyone likes hammocks in the first place.
One thing I will not do is quote you a weight capacity, because I did not put a scale under this chair. Check the listing for the limits before you buy, especially if you are a bigger camper, since oversized and unlimited are not the same word.
Flaws but not dealbreakers: A chair is dead weight in a pack if your trip is a through hike. This is a basecamp and car camping item, and it is worth every ounce in that role.
The actual hanging workflow
Now the part you came for. This works on trees, on a stand, and on the two posts of a covered porch, and it is the same sequence I walk through with every person at camp.
Step one: Pick your anchors. For trees, look for two trunks at least six inches in diameter, spaced far enough apart that the suspension leaves the trunk at a downward angle rather than a straight line. Skip anything dead, anything with a visible crack, and anything that moves when you push on it. If you do not have trees, use a stand and hang the stand-only hammock instead. Do not improvise with a roof rack, a fence, or a playground structure.
Step two: Straps, not rope. This is non negotiable and it is where most people get it wrong before they ever get in. Rope cuts into bark and it fails without warning. Two inch wide tree straps spread the load, protect the tree, and give you something you can actually trust at 3 AM.
Step three: Get the 30 degree angle. The suspension line should leave the anchor at roughly 30 degrees from horizontal. Too flat and the hammock turns into a trampoline. Too steep and you sleep curled like a banana, which is what wrecks your shoulders and your lower back. Eyeball it, then hand test it: make a finger gun, the angle between your thumb and index finger is about right.
Step four: Add a structural ridgeline for camping. A ridgeline is a fixed cord running from one end of the hammock to the other that locks in your sag. It means the hang angle stops mattering as much, so you can hang between trees that are closer together or further apart than ideal and still get the same flat lay. If you only take one piece of advice for camping, take this one. Parachute nylon is fine for the backyard. A camping hammock needs a ridgeline.
Step five: Sit test, then weight test. Before you commit, sit down gently with your feet still on the ground and check that the anchors do not shift, the straps are not sliding up or down the trunk, and the hammock is not touching the ground or the stand frame. Sit first, then climb in. Every year someone at camp skips this and lands on their back.
Step six: Hang it asymmetric. Sleep on the diagonal, not along the centerline. Lying corner to corner is what lets you get flat instead of curved, and it works in every hammock shape I have ever hung. Head one direction, feet slightly the other, and you will feel the difference in the first thirty seconds.
Step seven: Fly and net. For camping, the tarp and the bug net are not accessories, they are the difference between camping and surviving. Pitch the tarp high and wide in fair weather so you keep airflow, then drop it lower and steeper if rain is coming. Check that your bug net zips from the outside. A net that closes from the inside is a trap, and you will find out at 3 AM.
Step eight: Sleep a full night before you trust it. Not a nap. A nap in a hammock tells you nothing, because you are not cold, you are not stiff, and you are not tired enough to care. The first full night is the test that counts, and it is the one I run on every unit I write about.
The gear that lost out and why
Anything with included ropes lost. Rope suspension is the single fastest way to damage a tree and the fastest way to hit the ground, and a hammock box that mentions ropes is telling you what kind of product it is.
So did every hammock that sags like a banana no matter how you hang it. If a hammock cannot be pulled flat with a ridgeline, the fabric or the cut is fighting you, and no amount of fiddling fixes geometry that was wrong when it was sewn.
The other losers are the ones you would expect. "Double" hammocks sized for one adult and a backpack. Bug nets that only zip shut from inside. Cheap parachute nylon marketed as a camping system without a tarp, without a net, and without a ridgeline. All of it works great in a backyard on a sunny afternoon, which is exactly the trap. A hammock that is comfortable in the sun and useless in the rain is not a sleep system.
What this all costs
Here is the honest money picture. The hammock is rarely the expensive part of a hang. The suspension, the tarp, and the insulation underneath you are where the budget actually goes, and those are the pieces that decide whether you sleep.
That means the smart order of spending is: straps first, then a tarp, then insulation, then the hammock itself. If you are starting with a stand setup for the yard, you are spending on comfort and shade rather than weather protection, and the gear in this guide covers that job at a price you can check on the listing rather than take my word for. Both items here link to their own pages so you can confirm current Amazon price and read the buyer reviews on weight limits and sizing, which are the two numbers I refuse to guess at.
Cost per night is the math I actually run. A hammock and chair setup that gets used every weekend from April through October costs pennies a night, and it beats the alternative, which is a cheap hammock that gets hung twice, sags badly, and ends up in the garage.
The gear is easy. The twenty minutes you spend getting the sag right the first time is what separates a hammock you sleep in from a hammock you photograph. Do it once, mark your strap heights, and you will never fight the hang again.
That is the job. Your two trees were always going to hold you. Let them.