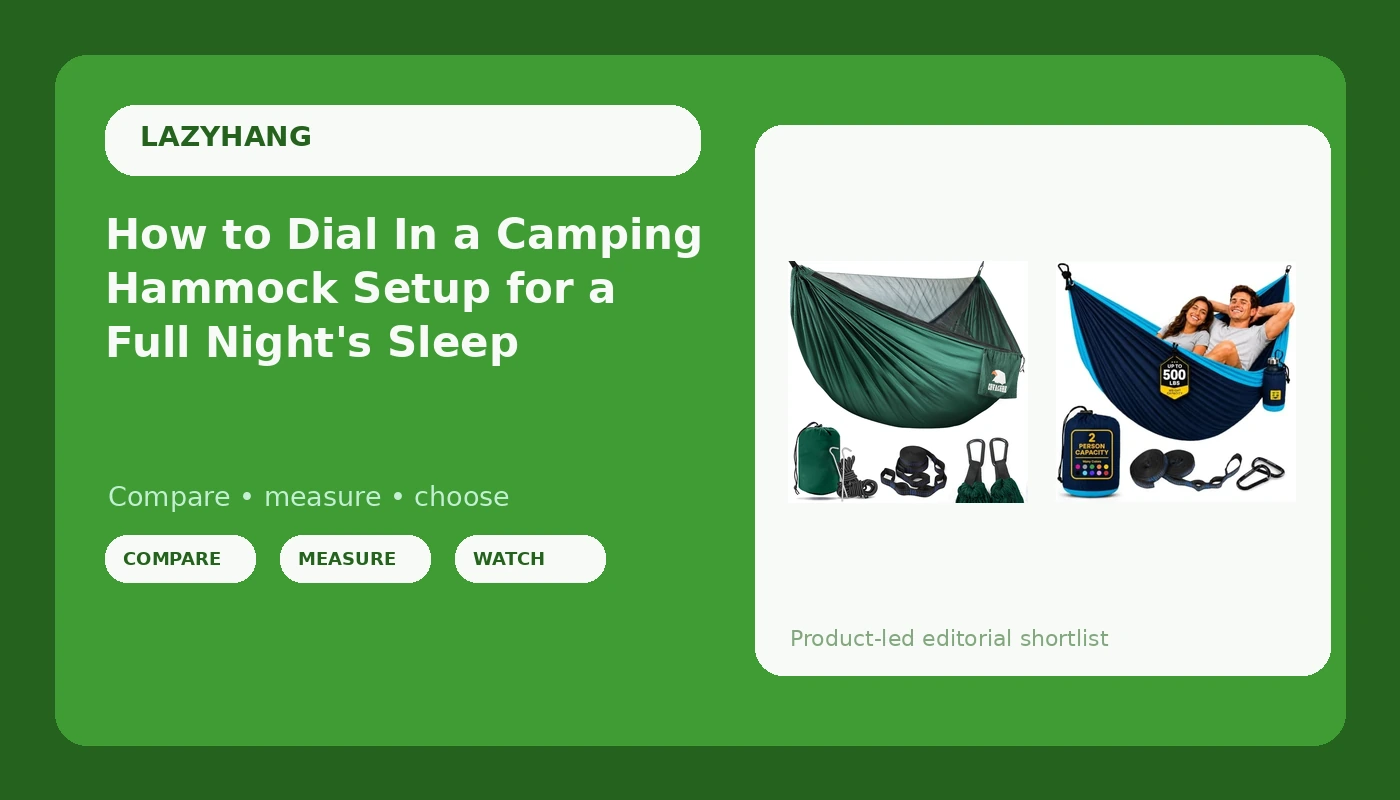
Most people hang a hammock wrong the first ten times, and the giveaway is the banana. The fabric curls up around your shoulders, your feet ride higher than your head, and by 2 AM you have slid into the middle like taco filling. A camping hammock setup that actually sleeps flat is not about spending more money. It is about hang angle, strap width, and one thin cord that most people never install.
I run a hammock camp every summer in the mountains outside Asheville, where I hang 20 or more hammocks for a weekend and measure sag, fabric stretch, and what I call the 3 AM comfort test. That test is simple. If I wake up at 3 AM with cold shoulders, a numb heel, or the feeling that I am folding in half, the hammock failed no matter how good it looked at sunset.
Here is the whole process, from picking trees to the last tarp line, plus the two hammocks I keep handing to people who are just starting out.
Why you should trust me
Twelve years of outdoor education and gear reviews, and I have slept in more hammocks than beds. I have hung $15 parachute nylon that tore on day two, and I have hung $300 camping systems with integrated bug nets and rain flies. I keep a notebook on every hang: strap angle, tree diameter, overnight low, and whether the fabric stretched by morning. I do not recommend a hammock I have not spent a full night in, and I do not call anything tree safe until I have put a tape measure on the straps.
What separates a hammock that sleeps from one that hangs
Two things matter more than brand. First, the suspension. A hammock is only as good as the straps holding it, and rope is a hard no. Rope cuts into bark, it slips when it rains, and it fails without warning. Two inch wide tree straps spread your weight across the trunk and hold their position. If a hammock ships with rope in the box, budget for straps on day one.
Second, the geometry. A hammock hung dead tight is unstable and tippy. A hammock hung at 45 degrees folds you in half. The sweet spot is around 30 degrees, which is why a structural ridgeline, a fixed length of cord running from one end of the hammock to the other, is the single best upgrade you can make. The ridgeline sets your sag for you, so the hang is identical every time, in every pair of trees.
Hammocks worth hanging
These are the two I hand to beginners, and both come in under the price of a single night in a motel. Neither is a full four season system, so read the caveats before you order.
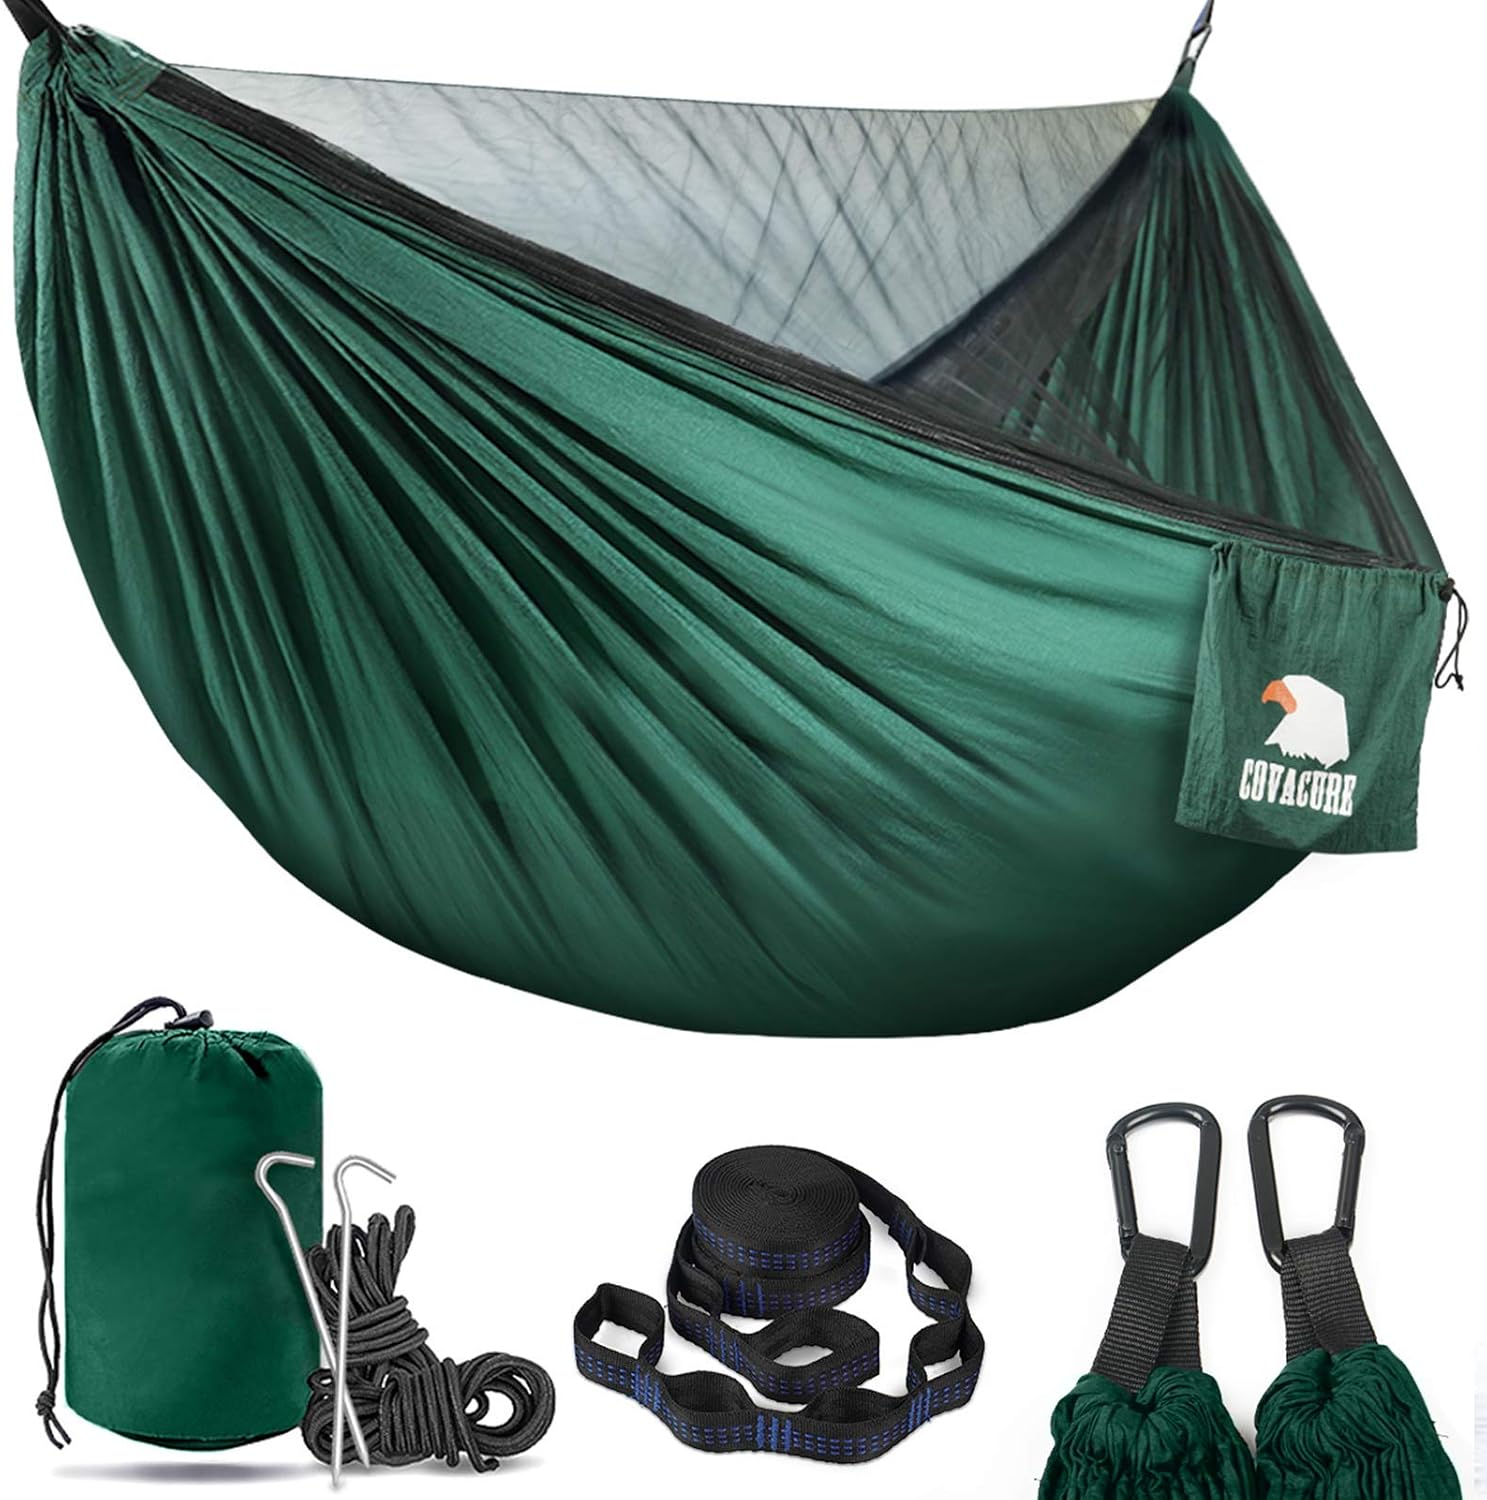
Budget pick: Covacure Camping Hammock, 772 lbs Capacity Double Hammock - Dark Green
 Visit on Amazon →
Check current Amazon price before you commit, because this one moves around.
The fabric here is a parachute nylon with a soft hand, and the dark green hides camp dirt better than the bright colorways most brands push. The 772 pound capacity rating means two adults can sit in it without the fabric screaming, and the size is genuinely generous for one person. That matters, because a wide hammock is what lets you lie on the diagonal and get flat instead of curled.
The caveats are the ones that come with almost every hammock in this class. The straps in the box are the thin webbing style, fine for a backyard and not what I would trust on a living tree for a whole weekend. Swap them for two inch straps. There is no bug net and no rain fly, so this is a fair weather or tarp carried separately situation. And the "double" label is doing marketing work. Two adults can nap in it. Two adults sleeping through a rainy night in it is a different conversation.
Flaws but not dealbreakers: The included hardware is basic. If you want a structural ridgeline, you are adding it yourself, and you should.
Anyone who wants a roomy, inexpensive first hammock for the backyard, the lake, or a summer campsite with a tarp overhead will be happy with this one.
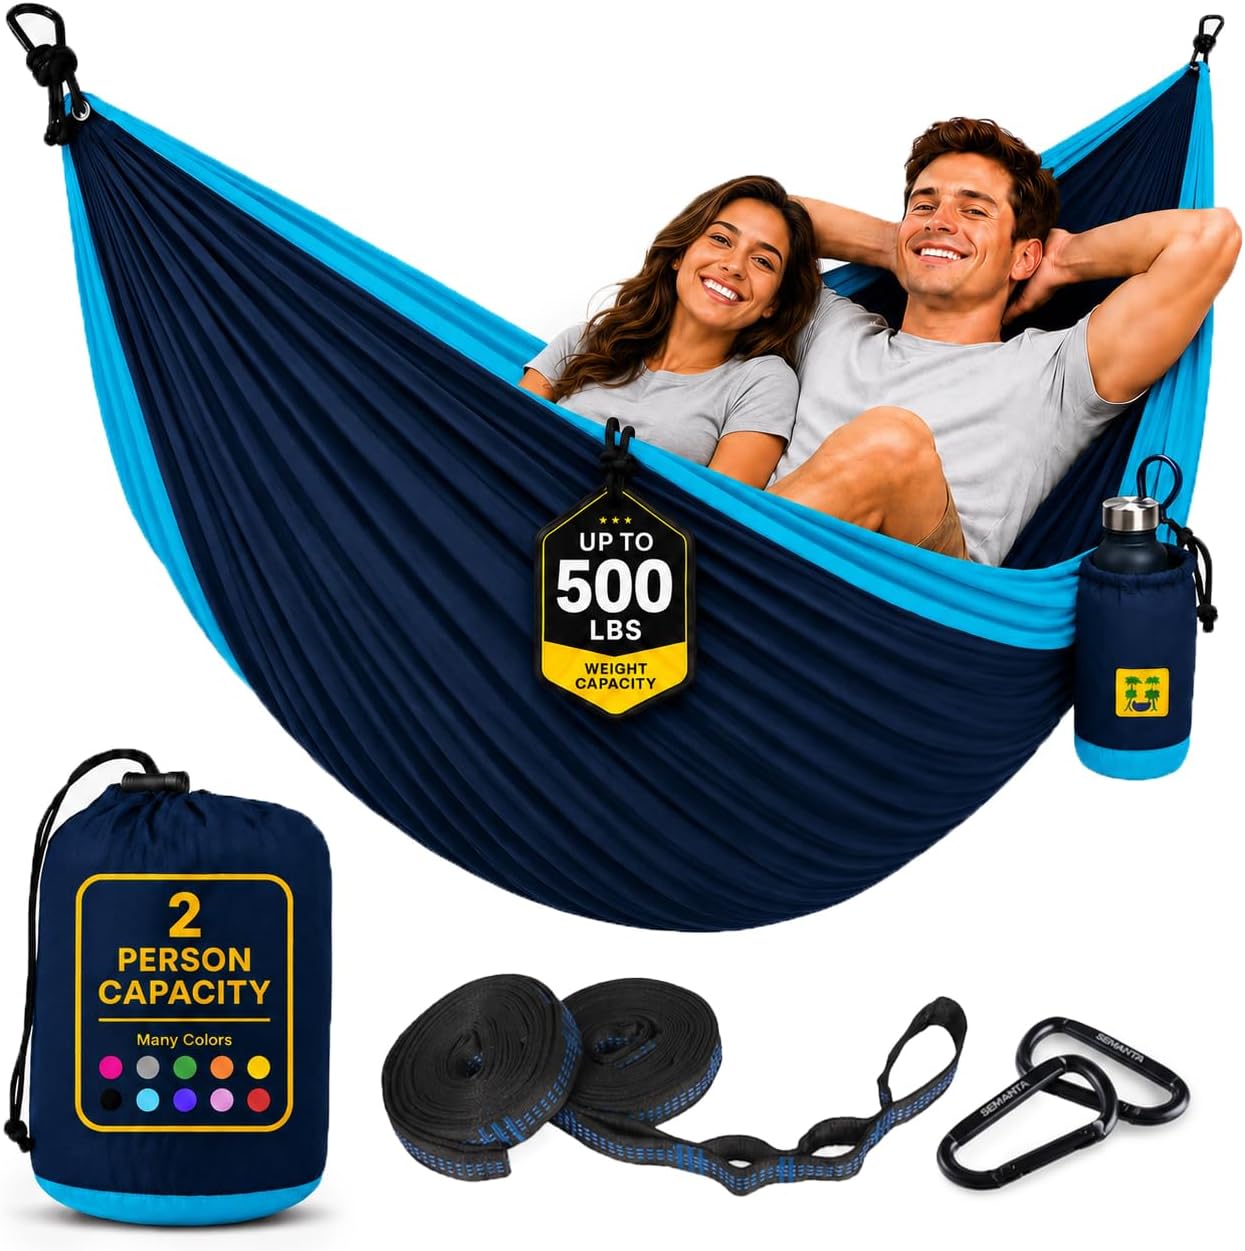
Runner-up: Durable Hammock 500 lb Capacity, Nylon Camping Hammock Chair - Double or Single Sizes w/Tree Straps and Attached Carry Bag - Portable for Travel/Backpacking/Beach/Backyard (Large, Blue & Light Blue)
 Visit on Amazon →
Check current Amazon price and pick your size, because the large and the single hang differently.
This is the one I would take car camping, and the reason is the tree straps. They are included, they are wide enough that I am not worried about bark damage over a weekend, and the attached carry bag means the whole thing lives as one bundle instead of three loose pieces in the trunk. The nylon fabric has less stretch than the parachute nylon on the budget pick, which shows up around hour four, when the other hammocks in camp have started sagging toward the ground and this one is still where I set it.
It is a chair shaped hammock, so treat it that way. It is not the flat lay I would want for eight hours of side sleeping, and I would not take it on a multi day backpacking trip where every ounce gets weighed. As a camp lounger that also holds a nap, it is excellent.
Flaws but not dealbreakers: The strap length is fine for average trees and short for the big hardwoods. Carry a strap extension if you camp where the trunks run thick.
Anyone who wants one bundle to grab for a weekend campsite, a beach afternoon, or a backyard afternoon will get years out of this.
The actual hang, step by step
Step one: pick the trees. Two trees 13 to 15 feet apart, at least 6 to 8 inches across, alive, no dead limbs overhead. Look up before you hang. A dead branch is called a widowmaker for a reason, and no hammock protects you from one.
Step two: straps, not rope. Wrap two inch straps around each trunk, close to the base but not at the base, and bring the strap back to itself. Never girth hitch around a thin sapling. Never use paracord, never use rope, never use the thin webbing that came in the box if you are on public land.
Step three: set your height. For a typical 9 to 10 foot hammock, start with the straps around 6 feet up the trunk, then adjust. The goal is a suspension angle near 30 degrees once your weight is in it. If the straps are too high, you get a steep angle and a banana. Too low, and the hammock bottoms out on the ground when the fabric stretches.
Step four: check the angle with your hand. Hold your hand out flat and make a 30 degree wedge with your thumb. If the suspension line looks steeper than that with you sitting in the hammock, lower the straps or move to closer trees.
Step five: add a structural ridgeline. Tie a fixed length cord from one gathered end to the other, roughly 83 percent of the hammock's length. This is the step people skip, and it is the reason their hammock hangs differently every trip. Once the ridgeline is on, your sag is locked in and setup becomes a two minute job.
Step six: lie on the diagonal. Get in, then shift so your body runs corner to corner, not straight down the center line. This is what turns a curved banana into a flat bed. Your shoulders should land on one side of the fabric and your feet on the opposite side.
Step seven: raise the foot end. Move the foot end strap 6 to 12 inches higher than the head end. Gravity slides you toward the low end all night, and this trick keeps you from ending up in a heap at the head of the hammock.
Step eight: insulate underneath. Air moving under a hammock pulls heat off your back all night, which is why cold shoulders at 3 AM are the number one complaint from new hammock campers. An underquilt or a sleeping pad in the hammock fixes it. This is not optional below 65 degrees.
Step nine: hang the tarp. A tarp is the difference between camping and surviving. Pitch it high and wide in clear weather, low and tight when rain is coming, and run drip lines, short cords tied at the strap ends, so water runs down the cord and drops off instead of following the strap into your hammock.
Step ten: sleep in it in the backyard first. One night at home tells you whether your sag, insulation, and tarp setup work before you are three miles from the car.
What goes wrong at 3 AM
The failures are predictable once you have seen enough of them. A hammock that sags like a banana no matter how you hang it usually means the fabric is stretching, which is a cheap nylon problem and not something you fix with technique. Bug nets that zip shut from the inside are a design flaw, not a feature, because you will eventually need to get out in a hurry. "Double" hammocks sized for one adult are common, and the fix is measuring the fabric width before you buy, not hoping.
Cold is the big one. Most first time hammock campers blame the hammock for a bad night when the real problem is no insulation underneath. Fix the underquilt before you replace the hammock.
The competition and why it lost
I still think the Eno DoubleNest is the best backyard hammock going, and it is the one people actually keep using because the fabric lasts and the colors are great. For a budget camping hammock with an integrated bug net, the Grand Trunk Skeeter Beeter has held up for years in my gear room. The Kammok Mantis is the premium system I reach for when the forecast is ugly, mostly because the rain fly is genuinely waterproof. Hennessy remains the classic ultralight option with a bottom entry that feels strange until you love it. And Wise Owl is the best cheap hammock on the market, with the emphasis on backyard, not campsite.
None of those are the two hammocks above, and that is the point. Those are different tools at different prices. For a beginner building a first camping hammock setup, the two in this guide do the job without the premium markup.
What this all costs
The good news is that the hammock is the cheap part. Two inch tree straps, a structural ridgeline cord, and an underquilt will cost more than either hammock here, and they matter more than which fabric you pick. Check current Amazon price on both hammocks, then put the rest of your budget into the suspension and the insulation.
Spread over a summer of weekends, the math is not close. Both of these hang for less than a single motel night, and they will outlast the car you carry them in.
Start with the trees, then the straps, then the ridgeline. Get the 30 degree hang right, lie on the diagonal, and insulate your back. Do those four things and you will stop waking up at 3 AM. That is the whole test, and it is the only one that matters.