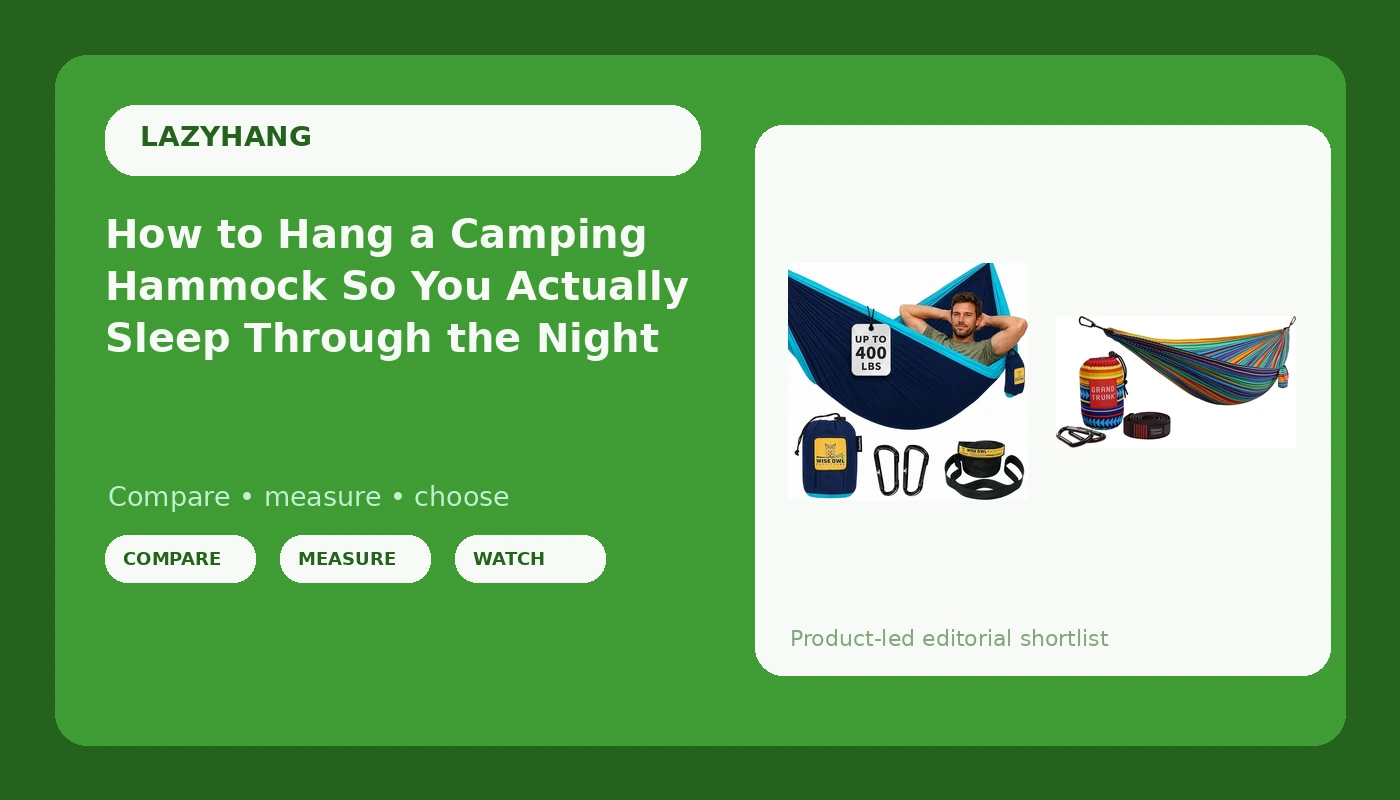
Most hammock advice starts with the hammock. That is backwards. A hammock camping setup is a geometry problem before it is a gear problem, and I have watched an expensive system sleep worse than a cheap parachute nylon sack because the owner strung it up like a banjo string. Get the angle right and you sleep flatter than you do in your bed at home. Get it wrong and you wake at 3 AM folded like a taco, blaming the fabric.
I have hung hammocks for a living for twelve years out of Asheville, North Carolina. Every summer I run a hammock camp where I string up more than twenty of them for a weekend, and I measure the sag, the fabric stretch, and what I call the 3 AM comfort test on every one that comes through. I have slept in hammocks that cost less than lunch and hammocks that cost more than my first car.
What follows is the setup I run every time I hang, in order, plus the two hammocks I hand to people who are just getting into it. Twenty minutes the first time, five minutes after that.
Why you should trust me
I have slept in more hammocks than beds since 2014. My summer camp is the closest thing to a lab this hobby has: twenty-plus hammocks in one stand of pines, two nights each, with notes on sag, fabric stretch, and whether I actually slept through the night or woke up fighting the fabric. That last one is the only metric I really care about.
The other half of my education came from a forest ranger who walked me through what two-inch straps do to a tree over a decade, and what rope does in a single season. That conversation changed how I write about suspension forever.
My rules are simple. No recommendation without a full night in it. No tree-safe claim without a strap width check. No camping claim without a rain test. If a hammock cannot survive all three, it does not get a paragraph from me.
How I picked and how I tested
Every hammock that comes through camp gets the same four questions. Does it sleep flat at a 30 degree hang? Are the straps wide and tree safe? Does the fabric stretch out overnight? Would I trust it at 3 AM in the rain?
The two hammocks below are not the entire market. They are the two I point beginners to, because both are simple, both are forgiving while you learn what sag actually feels like, and neither one will make you miserable on your first night out. One is a first hammock. One is a first hammock you keep.
Neither of them is a complete camping system. No integrated bug net, no rain fly, no structural ridgeline. That is not a knock, it is a category. These are the hammock itself, and for warm, dry, bug-free nights that is genuinely all you need. If you want one bag that solves everything, that is a different guide and a different budget.
The two hammocks I hand to beginners
Start here. Learn the hang on something simple, then decide whether you want to spend on a system.
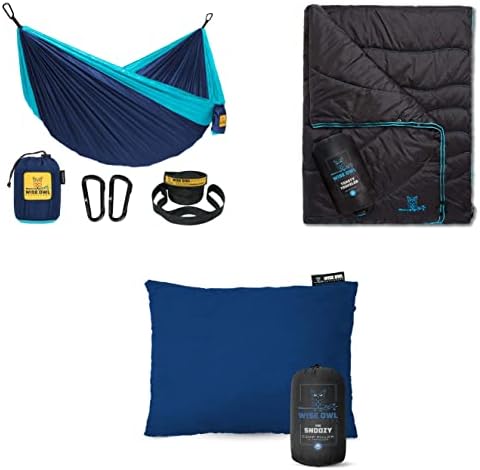
Budget pick: Wise Owl Outfitters Camping Hammock, up to 500lbs Portable Hammock with Tree Straps - Travel, Backpacking, Hiking, Outdoors Camping Gear - Single or Double
 Visit on Amazon →
Check current Amazon price. This is the best cheap hammock I know of, and it earns that title for one boring reason: it ships with tree straps. Most hammocks in this price range still throw a coil of rope in the box, and rope is how you girdle a tree and how you end up on the ground at 3 AM when the knot slips. Straps in the box means a beginner can hang correctly on day one instead of learning the hard way.
It is rated up to 500 lbs, which is generous for a parachute nylon hammock, and the single or double sizing means you can pick the width that fits how you actually use it.
Here is the honest part. I call this a backyard hammock, and I mean it. Parachute nylon has stretch, and without a structural ridgeline you are entirely responsible for the sag. That is fine for a nap, a reading afternoon, or a warm night with no weather coming. It is not what I would carry on a week-long trip where rain is on the menu.
Flaws but not dealbreakers: No bug net and no fly, so this is a fair-weather hang. If you are camping somewhere with mosquitoes or afternoon storms, budget for those separately.
Anyone who wants to learn the 30 degree hang without spending real money should start here.
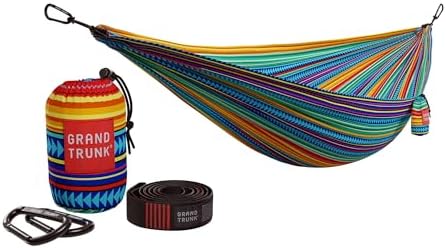
Upgrade pick: GRAND TRUNK Double Deluxe Camping Hammock | Cabo
 Visit on Amazon →
Check current Amazon price. Grand Trunk has been building hammocks long enough that I trust the brand, and the Double Deluxe is the one I point at when someone wants a hammock for two people or for one person plus a pack, a book, and a dog. The Cabo colorway is the one that ends up on porches.
The double sizing is the whole point and also the whole warning. A double hammock is for two people who like each other, or for one person who wants to lie diagonal with room to spare. Two adults in one hammock means every time one of you shifts, the other one knows about it. That is physics, not a design flaw.
It is still a lounger at heart. No net, no tarp, no ridgeline, so treat it the same way you treat the Wise Owl: excellent in good weather, and a starting point rather than a finished sleep system.
Flaws but not dealbreakers: A double needs more distance between trees than a single, and the hang angle that feels right for one person feels wrong with two. Learn it solo first.
Anyone who wants a hammock that doubles as porch furniture and a guest bed should look here.
The actual setup, step by step
This works on any hammock, cheap or expensive. The steps do not change.
Step one: Pick two trees, and look up first. You want two live, healthy trees with trunks thick enough that they do not flex when you push on them. Before you touch a strap, look up. Dead limbs are called widowmakers for a reason. Never hang from a signpost, a shelter post, or a roof rack, and never from a tree that is already damaged.
Step two: Straps, not rope. Two-inch wide straps, every time. Wide straps spread the load across the bark instead of cutting into it, and they hold better than any knot you can tie in cord. If your hammock came with rope, buy straps before you hang it again. This is the single most important thing in this article.
Step three: Set your strap height. For lounging, straps around head height work well. For sleeping, go a little lower, closer to shoulder height, so the hammock settles near chair height when you are in it. Too high and you will need a step ladder to get out at 3 AM.
Step four: Find 30 degrees. This is the number that matters. Look at where the suspension meets the tree and aim for roughly a 30 degree angle from horizontal. If the suspension looks like a tightrope, your straps are too high. If the hammock sags like a hammock for a banana, they are too low. I eyeball it every single time, and you will too.
Step five: Sit before you commit. Sit down sideways, like you would on a bench, and let your weight settle in. Never drop into a hammock. The sit test tells you whether the height and the angle are right before you are horizontal and lazy.
Step six: Lie diagonal. Feet on one side of the fabric's centerline, head on the other. This is the trick that turns a banana into a bed. Sleeping along the centerline is what makes your knees lock and your back arch. Sleeping across it is what makes a hammock flat.
Step seven: Know your ridgeline situation. If your hammock has a structural ridgeline, the sag is already set and tree distance matters a lot less. If it does not, the angle is entirely on you, which is why steps three and four matter so much. Neither pick above has one, so plan accordingly.
Step eight: Add the net and the fly if you are camping. Bug net and rain fly are not accessories. They are the difference between camping and surviving. Hang the fly high and wide enough that rain runs off past the hammock, not onto it, and test it in your yard before you trust it in the woods.
Step nine: Take it down. Leave no trace means the straps come off when you leave. Leaving straps on a tree for a season is how you girdle it. Wrap, hang, sleep, unwrap, go home.
The competition and why it lost
The hammocks people ask me about most are not these two. They are the ultralight bottom-entry crowd, the premium all-in-one systems with an integrated net and fly, and the color-block parachute hammocks that live on a porch all summer.
All three are real answers to different questions. Bottom entry is weird until you love it, and the weight is unbeatable, but it is not where a beginner should start. Premium all-in-one systems solve the entire problem in one bag, and they cost accordingly, which is a hard sell on a first hang. The porch hammocks are great at being porch hammocks and nothing else.
Then there is the category that loses outright: anything that ships with rope. Rope kills trees and rope fails at 3 AM. There is no price at which that trade is worth it.
If you want a hammock you can camp in straight out of the bag, with net, fly, and ridgeline included, that is a different buying guide. This one is about learning to hang properly, and you can do that on either hammock above.
What this all costs
The hammock is the cheap part. That is the thing nobody tells beginners.
Both picks above are entry-tier, and you can check current Amazon price on each of them in a few seconds. What adds up is the rest of the system: two-inch straps if yours did not come with them, a bug net, a rain fly, and the suspension hardware to hold it all. None of that is optional if you plan to sleep outside in weather.
The time math is friendlier. Your first hang takes about twenty minutes because you are measuring angles and second-guessing yourself. Your fifth hang takes five minutes. Your fiftieth takes two, and you will not think about it at all.
Then there is the cost per night, which is the only number that matters. A hammock you use twenty nights a summer for five years is a rounding error per night. A hammock that hurts your back sits in a closet and costs you the full amount plus the space it takes up. That is the real reason I push the 30 degree hang so hard. The angle is free, and it decides whether you use the thing.
Do the setup once, in your yard, in daylight, with nobody watching. Get the sag right, lie diagonal, and take a nap. If you wake up and your back feels fine, you are done. If you wake up folded like a taco, you were hanging too tight, and now you know what to fix.
That is the whole job. The trees were always going to hold you. You just have to meet them at 30 degrees.