A hammock is a geometry problem, and most people solve it wrong before they ever climb in. If you want to know how to hang a hammock correctly, the whole answer fits in one number: 30 degrees. Get that angle right and a fifteen dollar parachute nylon sack sleeps better than a three hundred dollar system strung up like a clothesline. Get it wrong and you will spend the night sliding into the middle of a banana, no matter how much fabric technology is printed on the box.
I have been hanging hammocks in western North Carolina for over a decade. Every summer I run a hammock camp where I string up more than twenty of them for a weekend and watch what happens to each one overnight, including the part nobody talks about, which is whether you actually sleep through the night or wake up at 3 AM with a numb shoulder. The gear that fails is almost never the hammock itself. It is the suspension, the angle, and the trees.
This is the setup I walk every beginner through, along with the two hammocks I keep in my own rotation, one for the trail and one for the yard.
Why the hang angle beats every spec on the box
Hang a hammock tight like a trampoline and you get a flat, rigid surface with a curve in the middle, which is the worst of both worlds. You cannot lie flat, and every shift sends a wobble through the whole thing. Hang it too loose and you are sleeping in a hammock shaped like a smile, with your knees locked and your head pushed toward the center.
Thirty degrees is the sweet spot. That is the angle of the suspension lines measured from horizontal, and it is steeper than most people expect. A hammock hung at 30 degrees has a deep, gentle sag that lets you lie on the diagonal, which is the actual trick to sleeping flat. You are not sleeping along the centerline. You are sleeping corner to corner, and the sag gives you the room to do it.
The other reason the angle matters is force. The flatter you hang a hammock, the more tension you put on the straps and the trees. A shallow hang multiplies the load far beyond your body weight. A 30-degree hang keeps the tension reasonable, which means the straps hold and the trees survive.
If you take one thing from this guide, take this: the sag is not a defect. The sag is the design.
What you need before you touch a tree
You need four things, and only one of them is the hammock.
Two-inch tree straps. Not rope, not cord, not the thin webbing that ships in some boxes. A two-inch strap spreads your weight across a wide band of bark. Rope concentrates the same load into a line the width of a pencil, which girdles the tree over time and is the reason so many parks have banned rope entirely. The straps matter more than the hammock. Your safety and the tree's health both live there.
Two carabiners, ideally climbing rated, at each end of the suspension.
A structural ridgeline, which is a fixed-length cord running between the two ends of the hammock. This is the single upgrade that turns a camping hammock into a sleep system. The ridgeline sets your sag for you, so the angle is repeatable every single night instead of something you eyeball.
A tarp and a bug net if you plan to sleep out rather than nap. Those are not accessories. They are the difference between camping and surviving.
Tree selection is part of the gear list too. Look for trunks at least six inches across, alive, and healthy. Dead wood drops limbs. Pick two trees roughly 13 to 15 feet apart. Wider than that and you cannot reach a 30-degree hang without climbing the trunk to tie off.
The two hammocks I hand beginners
Most people do not need a premium camping system on day one. They need something that hangs predictably, packs down, and does not punish them for learning. These are the two I point people toward.
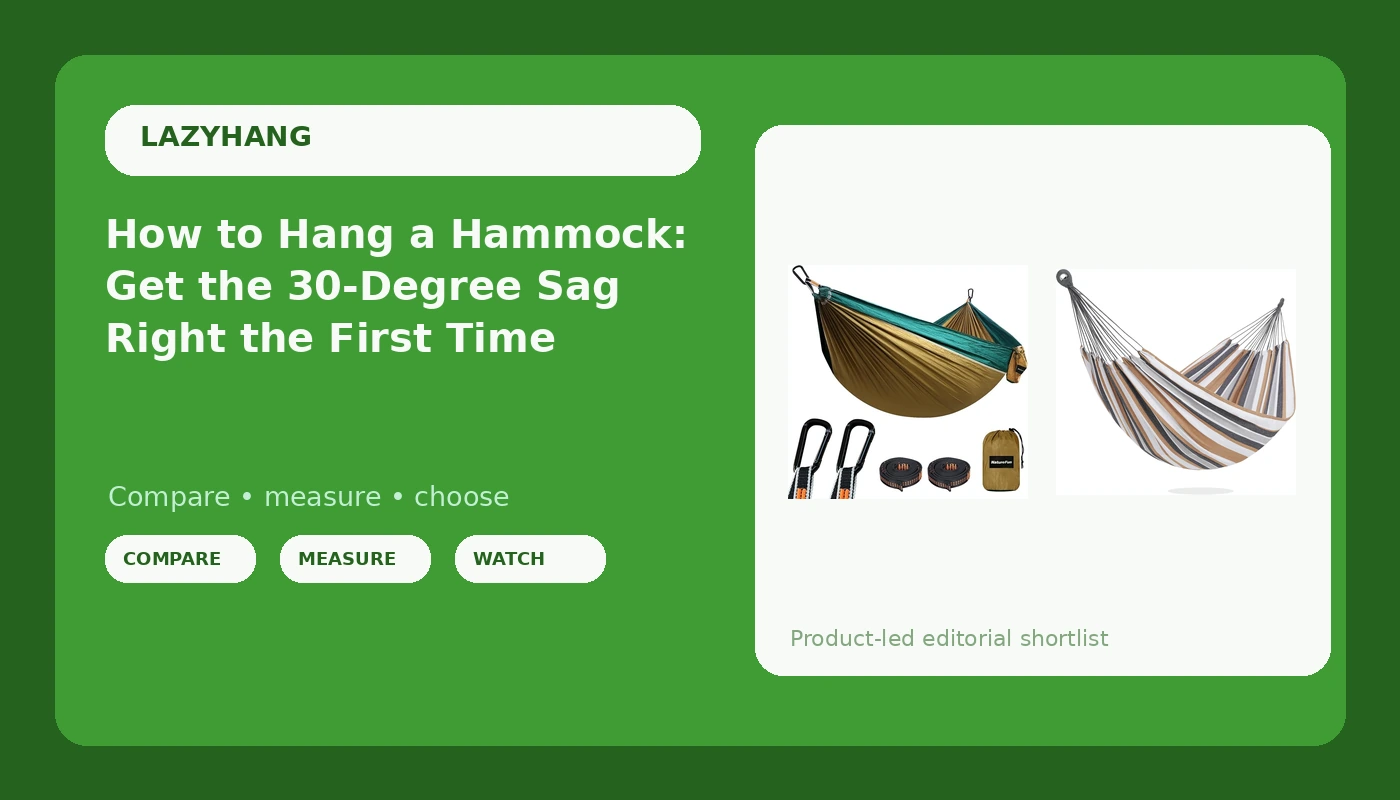
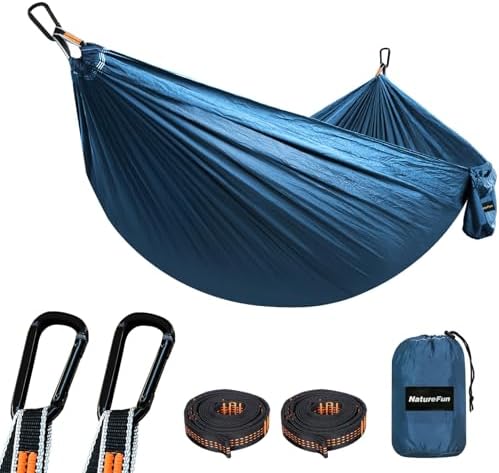
Budget pick: NATUREFUN Ultra-Light Travel Camping Hammock
 Visit on Amazon →
This is the hammock I hand to someone who has never slept in one and wants to find out whether they like it. It is a gathered-end parachute nylon hammock with a stated 300kg load capacity, which is far more than any two people will ever put in it, and the fabric dries fast if you get caught in a shower. The carabiners are included, and the package comes with two nylon slings.
Here is my honest note on those slings. Thin nylon slings are fine for a pair of backyard trees you own and check yourself. For public land or a tree you care about, replace them with two-inch straps before you hang. That is not a knock on the hammock. It is the same advice I give about every box that ships rope.
Flaws but not dealbreakers: It is a bare hammock, so there is no bug net and no ridgeline. You are buying the fabric and the carabiners. Add the ridgeline yourself and it becomes a real camping setup.
Anyone who wants to test the whole hammock idea without spending real money should start here.
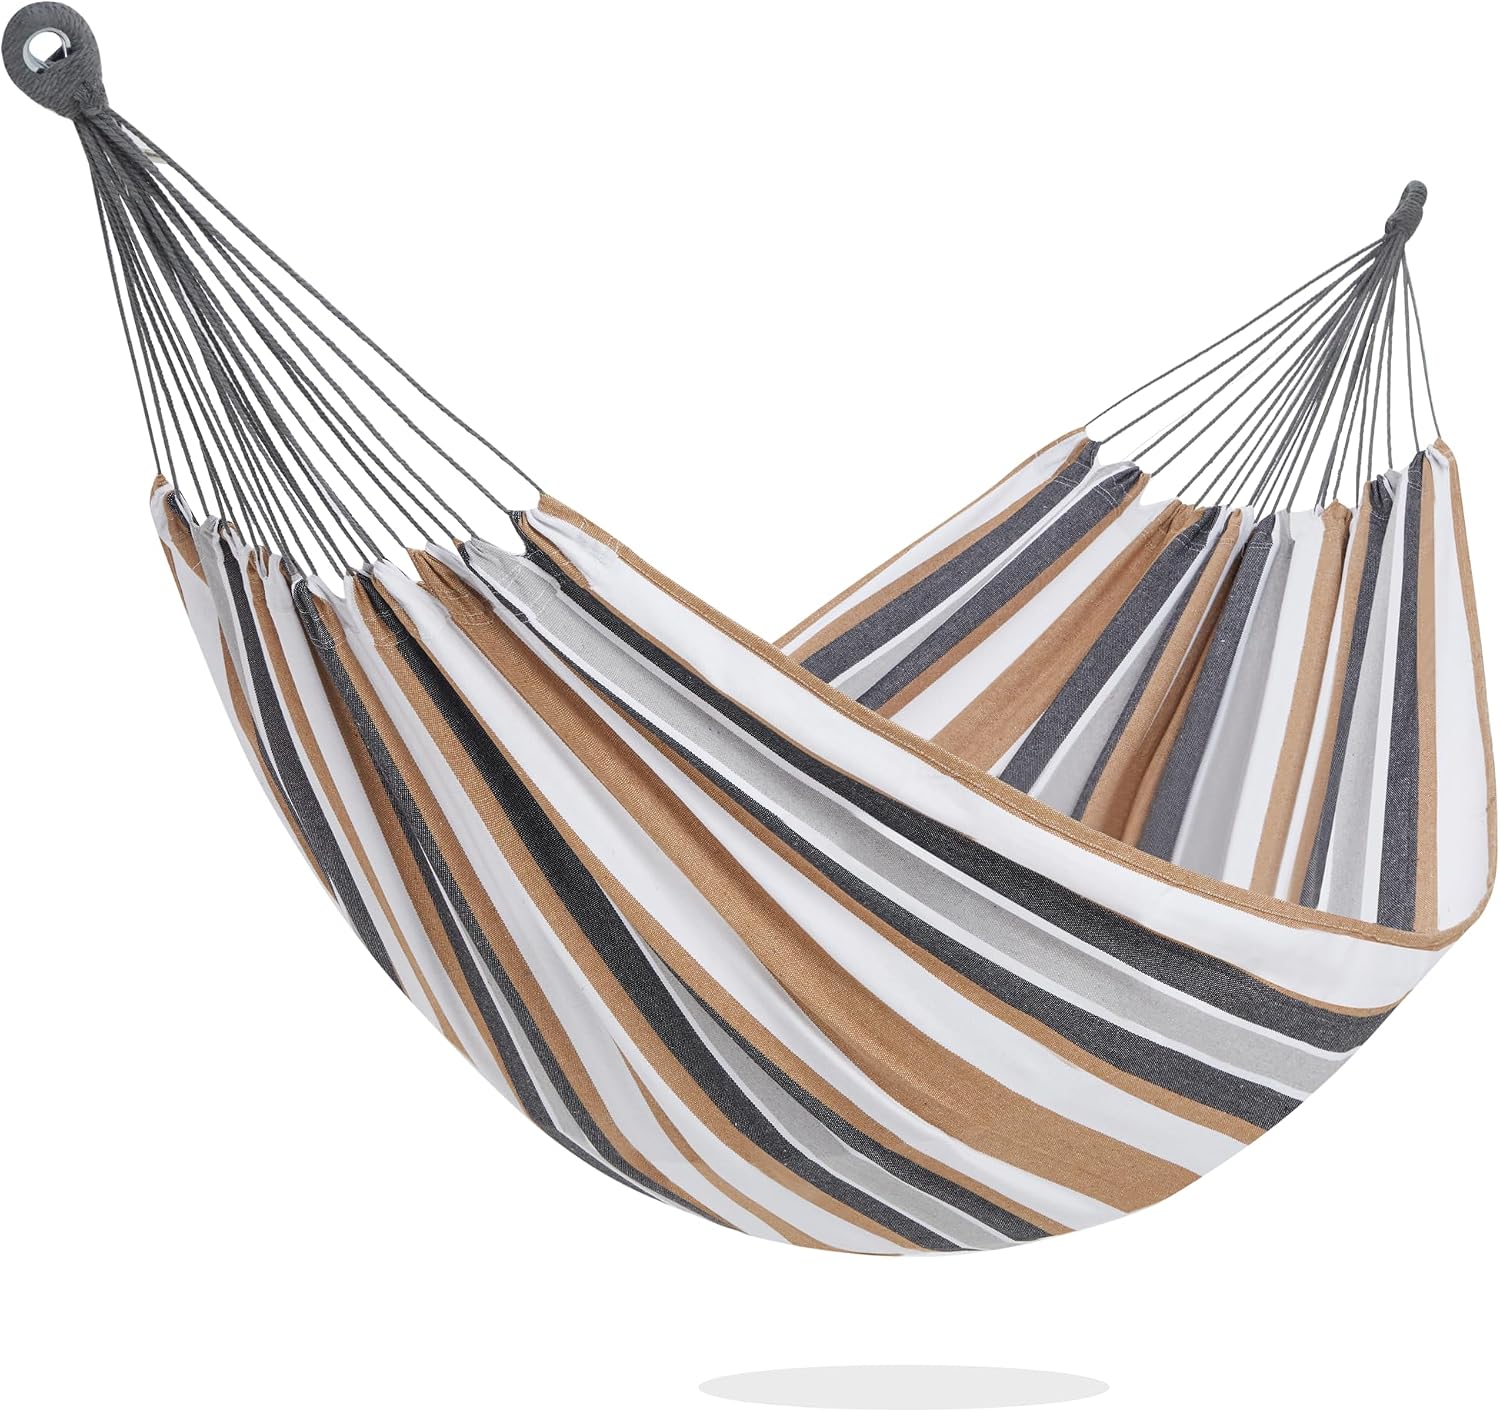
Backyard and guest pick: PNAEUT Double Hammock for Outside, Replacement for Stand, Tree Hammock
 Visit on Amazon →
This is the one that lives on my porch. It is a double, which means it is sized for two adults who like each other or one adult who wants to sprawl, and it works both on a stand and between two trees, so it does not lock you into one setup. The wide fabric makes it a genuinely comfortable place to read for an afternoon, and the extra width is what lets a beginner find the diagonal lie without fighting the hammock for space.
I make fun of double hammocks constantly and I own two of them, so take that for what it is worth. For sleeping alone in the woods, a single is the better tool. For the yard, the deck, a campsite where the whole point is hanging out with people, the double wins.
Flaws but not dealbreakers: A double this size is heavier and bulkier than a travel hammock. It is a porch hammock and a car camping hammock, not a thru-hiking hammock.
Anyone who wants one hammock for the yard, the deck, and the occasional car camping trip should look here first.
The hang, step by step
This is the whole process. It takes about five minutes once you have done it twice.
Step one: pick your trees
Two healthy trunks, six inches or more across, roughly 13 to 15 feet apart. Avoid dead branches overhead, and avoid the one tree in the grove that everyone else has already wrapped. If the bark is scarred in a ring around the trunk, walk to the next pair.
Step two: wrap the straps at head height
Wrap each two-inch strap around the trunk and pass the end through the loop, then pull it snug against the bark. Set them at roughly head height, a little above your standing shoulder line. Higher attachment points mean a flatter hang, which is the opposite of what you want, so resist the urge to climb.
Do not wrap the strap around a branch or a fork. Trunks only.
Step three: find your 30 degrees
Clip the carabiners to the straps and step back. Look at the line from the strap down to the hammock end. You want that line to sit at about 30 degrees off horizontal, which is steeper than it feels right to hang. A good trick is to make a finger gun: hold your hand out flat, then tilt it down. If your suspension matches that downward tilt, you are close.
Walk it in. Start higher on the tree and lower the attachment point until the hammock bottom sits around knee height when you stand beside it. If you sit in it and the bottom is at your waist, you are too tight.
Step four: add the structural ridgeline
If your hammock has a ridgeline, you are done with the geometry. The ridgeline holds the sag constant, so the same hang works on trees 13 feet apart and trees 15 feet apart. If yours does not have one, this is the moment to add one. It is the cheapest improvement you can make to any gathered-end hammock, and it is the difference between a repeatable sleep system and a nightly experiment.
Step five: the sit test, then the lie test
Sit down first, near the edge, and let your weight settle in. You are checking that the straps hold and that nothing is sliding. Then lie down and roll onto the diagonal, so your body runs from one corner of the fabric to the opposite corner. Your head should be slightly higher than your feet, and your knees should be able to straighten.
If you feel a ridge under your calves or your feet slide toward the middle, you are hung too flat. Raise the straps on both trees, a few inches at a time, until the sag deepens. If you feel like you are folding in half, you are too steep. Lower them.
Step six: add the tarp and net
For a nap, you are done. For a night out, pitch the tarp over the ridgeline before dark, not at 2 AM in the rain. Set it wide enough that the edges clear the hammock, because a tarp touching the fabric wicks water straight to your sleeping bag. Check that the bug net zips from the outside. A net that only opens from inside is a design flaw you will discover at the worst possible moment.
The mistakes that ruin a night
Using the rope that came in the box. This is the most common one and the most damaging. Rope damages bark, and thin cord is the weak link in an otherwise fine setup. Buy two-inch straps.
Hanging too tight. A taut hammock feels stable for about ten seconds. Then your shoulders start to ache and you cannot find a flat lie. Sag is your friend.
Skipping the diagonal. If you lie straight down the centerline, you will curve like a banana no matter how well the hammock is hung. Roll onto the diagonal every time.
Hanging too high. People hang high because it feels safer from the ground. It is not safer, and it makes the angle shallow. Knee height at the bottom is the target.
Ignoring the weather. A tarp is not optional for an overnight in the mountains. Western North Carolina taught me that one the hard way.
What this actually costs
The hammock is the cheapest part of the system, which surprises people. The fabric and carabiners are the entry fee. The straps, the ridgeline, the tarp, and the bug net are where the real money goes, and they are also where the real comfort comes from. Check current Amazon price on the hammocks above, then budget more for the suspension than you think you need to. A cheap hammock with good straps will out-sleep an expensive hammock with rope every time.
If you are starting from zero, buy the hammock, buy two-inch straps the same week, and add the tarp before your first overnight. The math over a season works out to pennies a night for something you will use every weekend from April through October.
The short version
Hang at 30 degrees. Use two-inch straps, never rope. Pick trunks six inches or wider, 13 to 15 feet apart, and wrap at head height. Add a structural ridgeline so the sag is the same every night. Lie on the diagonal, not down the middle.
Do that and the 3 AM test takes care of itself. You will wake up because the sun came up, not because your shoulder went numb. That is the whole job, and it is a five-minute job once you have done it a couple of times.