The marketing photos always show it perfectly taut, a crisp geometric shape that looks like it was drafted in CAD software. Then you get out to the woods, it starts drizzling, and suddenly you're fighting a limp piece of nylon that's somehow both too loose and too tight.
Is a hammock tarp actually worth the hassle? I've been stringing these up for twelve years, running a hammock camp every summer with 20+ setups, and I've made every mistake in the book.
Here's the truth: the tarp is the difference between a great night and a miserable one, and once you learn the setup, it takes about five minutes.

Hennessy Hammock - Snakeskins
Massive coverage, doors for cold weather, the one I trust at 3 AM in the rain
Visit on Amazon →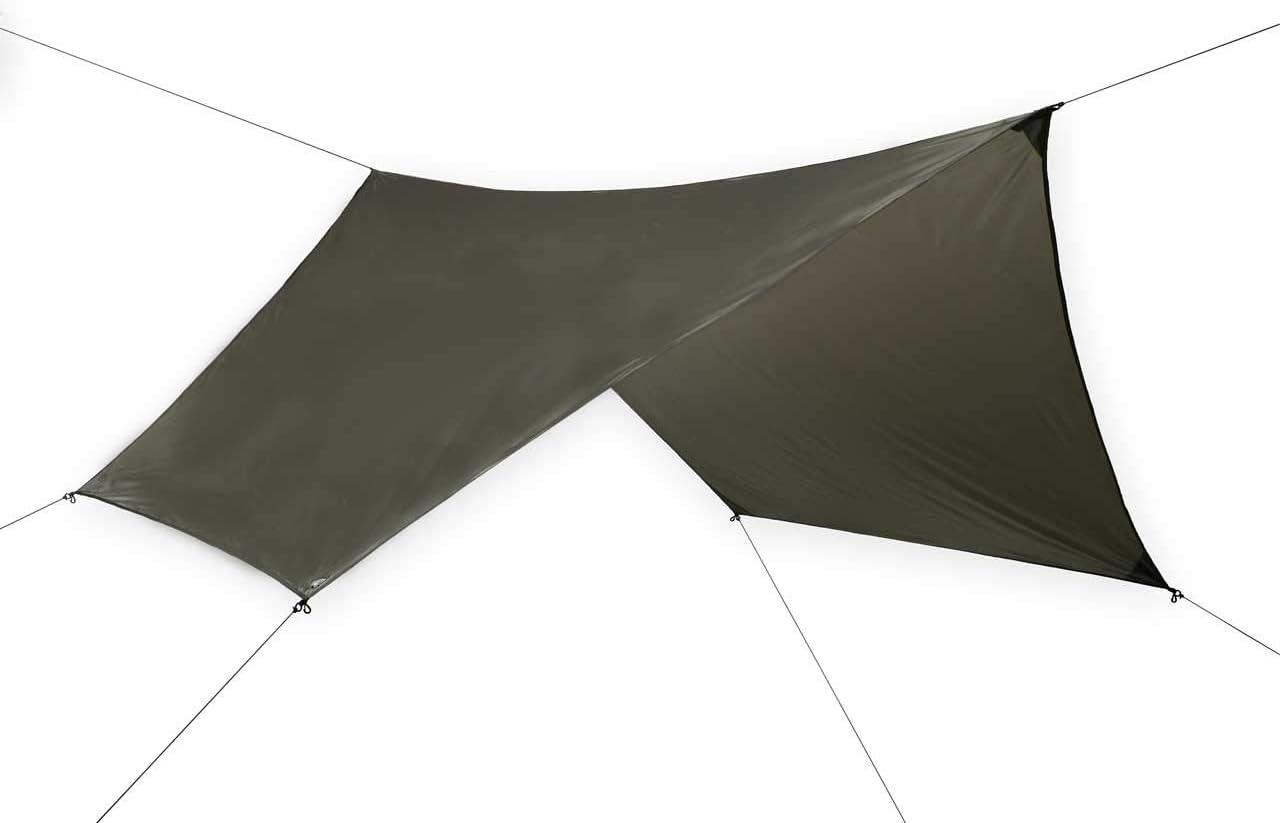
Hennessy Hammock - Hex Rainfly/Rain Tarp 70D Polyester
This PU-coated polyester ripstop rainfly works with all Hennessy Hammock models providing generous protection from wind and rain. Can be angled out to provide a large covered area for cooking or relaxing.
Visit on Amazon →Hennessy Hammock - Hex Rainfly/Rain Tarp 70D Polyester
This PU-coated polyester ripstop rainfly works with all Hennessy Hammock models providing generous protection from wind and rain. Can be angled out to provide a large covered area for cooking or relax
Visit on Amazon →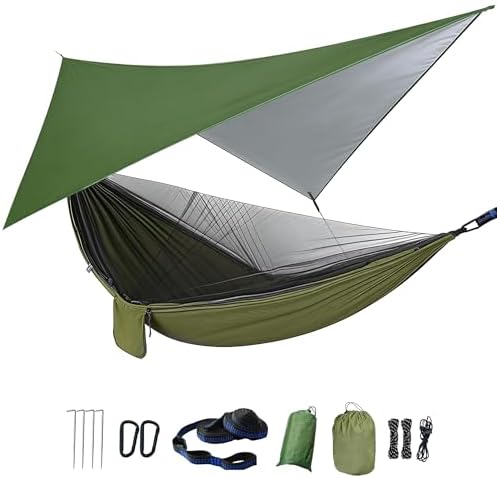 Visit on Amazon →
OneTigris Camping Tarp | Check price | Great value, comes with stakes and ridgeline rope included | Smaller coverage, you'll want to upgrade the stakes |## What You Actually Need Before You Start
Before we get into the setup, let's talk about the gear. The tarp itself is only half the system. You need a ridgeline, and I don't mean the one that runs between your suspension straps. I mean the line that goes over the top of your hammock, from tree to tree, that the tarp attaches to.
For the ridgeline, I use a 25-foot piece of Zing-It or similar lightweight cord. It's got a bit of stretch, holds a knot well, and packs down to nothing. You'll also want a few small carabiners or tarp clips to attach the tarp to the ridgeline.
Here's the part that gets people in trouble: the height of your ridgeline determines everything. Most people hang their ridgeline too low, then their tarp sags onto their face, then they blame the tarp. The ridgeline should be about 12 to 18 inches above your hammock's suspension straps. That gives you clearance for the tarp to slope down and shed water away from you, not onto you.
The Ridgeline: Your Tarp's Backbone
Run the ridgeline between the same two trees you're using for the hammock. Tie it off with a taut-line hitch on one end and a trucker's hitch on the other. The trucker's hitch gives you mechanical advantage, so you can get the line genuinely tight. If you can push the line down more than a couple inches in the middle, it's not tight enough.
The ridgeline should be tight enough that it almost hums when you pluck it. That's your foundation. Everything else is just draping fabric.
Now, here's the mistake I see at hammock camp every single year. People tie the ridgeline at the same height as their hammock straps. Then when they get in the hammock, the tarp is pressing against their face. The ridgeline needs to be higher. I've said it before and I'll say it again: hang height is destiny.
Attaching the Tarp
If you're using a tarp with a continuous ridgeline built in, like the Warbonnet SuperFly, you just throw it over the ridgeline and clip the ends. Simple.
If you're using a square tarp with tie-out points at the corners, you've got options. You can run a separate line through the center channel if it has one, or you can clip the corner tie-outs directly to the ridgeline with tarp clips and stake out the bottom corners.
The key is the angle. The tarp should form a diamond or A-frame shape, with the ridgeline as the spine and the corners staked out at roughly 45 degrees. That angle is what sheds wind and rain. If you stake the corners out too flat, the tarp will catch wind like a sail. If the corners are too steep, you lose coverage on the sides.
Getting the Tension Right
This is where most people screw up. They pull the corner stakes until the tarp is drum-tight, and then they wonder why it ripped at the grommet at 2 AM.
The tarp should have a little give. You want it taught enough that water beads and runs off, but loose enough that it can flex in the wind without tearing. Think of it like a drum, not a guitar string.
Here's a trick I learned from a buddy who does winter camping in the Whites. After you stake out the corners, go around and press your palm against each panel of the tarp. It should have a slight give, like the surface of a trampoline with someone standing on it. If it feels like a board, you've over-tightened it. If it flaps in the breeze, you've under-tightened it.
The 3 AM Comfort Test
I've been doing this long enough that I've developed what I call the 3 AM comfort test. Any hammock and tarp setup can feel great at 8 PM when you're setting up in daylight with a clear sky. The real question is how it feels at 3 AM when you wake up cold, it's raining sideways, and you have to decide if you're going back to sleep or packing up.
The tarp is what makes that decision easy. A good tarp setup means you roll over, hear the rain hitting the fabric a foot above your face, and go back to sleep. A bad setup means you're lying there feeling every drip land on your sleeping bag.
My Warbonnet SuperFly has passed that test more times than I can count. I've had it up in storms that had me genuinely worried about the trees, and the tarp never flinched. The doors seal up the ends, which matters more than you'd think. A standard hex tarp leaves the ends open, and wind-driven rain will find its way in.
The Hennessy Hex Fly is lighter and packs smaller, but it's got less coverage. In a straight-down rain, it's fine. In a storm with wind, you'll feel the spray at the ends.
The Budget Option That Works
Not everyone needs a $130 tarp. If you're just getting into hammock camping, or you're setting up in the backyard for afternoon lounging, the Chill Gorilla Tarp is genuinely good.
I've had one hanging in my yard for a full season now. It's faded a little, but the fabric hasn't ripped, the tie-outs haven't pulled, and it still sheds water like it did on day one. The included stakes are junk, but you'll replace those anyway.
The one thing to know is that the fabric is thinner than the more expensive options. You can see light through it if you hold it up to the sun. That's a feature for weight, a flaw for durability. Don't pitch it near anything sharp and you'll be fine.
The Ridgeline Debate
Here's where I'll admit a personal preference. Some people run the ridgeline over the top of the hammock suspension, with the tarp on top. Others run the ridgeline under the tarp, with the tarp clipped directly to it. I'm in the second camp.
Running the ridgeline under the tarp gives you a place to hang things, and it means the tarp is structurally separate from the hammock suspension. If you need to adjust the hammock, you can do it without disturbing the tarp. That's a bigger deal than it sounds at 3 AM in the rain.
One Thing I Won't Pretend to Know
I don't track tarp prices day to day, so I won't pretend to know what these cost next week. Prices fluctuate with seasons and stock. What I can tell you is what they cost me and whether they held up.
My Warbonnet SuperFly was $130 and it's worth every penny. The Hennessy Hex Fly was $79.95 and it's a great middle ground. The Chill Gorilla was $35 and it's the best deal in the category. The OneTigris was $45 and it's fine for fair-weather camping, but you'll want to upgrade the stakes immediately.
The Setup Sequence That Never Fails
Here's my exact sequence, the one I've taught to hundreds of students at hammock camp:
- Hang the hammock first, get your sag dialed in.
- Run the ridgeline over the hammock, higher than you think it needs to be.
- Tighten the ridgeline until it almost hums.
- Throw the tarp over the ridgeline, center it.
- Clip the ends to the ridgeline, stake out the corners at 45 degrees.
- Adjust tension until the tarp has a slight give.
- Get in the hammock, check that the tarp clears your face by at least a foot.
- If it doesn't, raise the ridgeline and start over.
Total time: about five minutes once you've done it a few times.
What I'd Tell a Friend
If you're camping in anything but perfect weather, the tarp is non-negotiable. I've spent too many nights slapping mosquitoes and pulling my sleeping bag over my head to pretend otherwise. The tarp is what makes hammock camping actually work, and the setup is simple once you understand the principles.
Start with the ridgeline. Get it tight and get it high. Then drape the tarp and adjust from there. And for the love of everything, don't over-tighten the corners. A little give is your friend.
I've got five hammocks in my backyard right now, three of them with tarps set up in different configurations. Juniper has claimed the one under the Chill Gorilla. She's got good taste.