How To Fix A Torn Hammock
Related: Best Hammock for Tall People: The Diagonal Sleep Fix
So you've got a tear in your hammock. Maybe it's a small snag from a branch. Maybe it's a full rip along the seam. Maybe you left it up through a season of weather and the fabric finally gave up. I've been there.
I've torn hammocks on rough ceiling hooks, on fence posts, on Juniper's claws when she decided to rearrange herself at 3 AM.
I've been testing and sleeping in hammocks for twelve years now, and I've fixed more tears than I can count.
Here's the honest truth: most tears are fixable in under twenty minutes with stuff you probably already own.
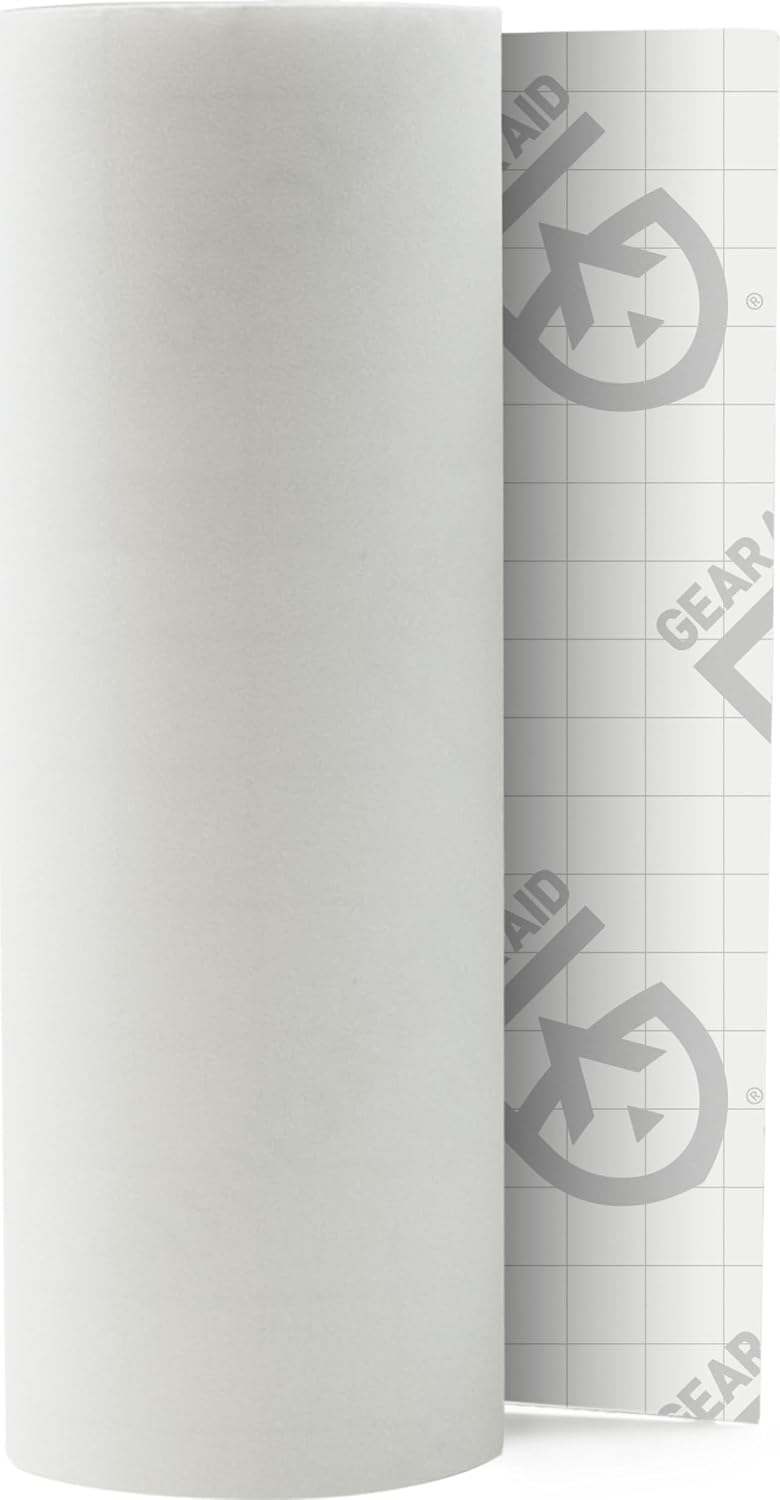
GEAR AID Tenacious Tape 3" x 20" Nylon Fabric Repair, Clear, 1 Roll
Patches stick to nylon through washing and weather
Visit on Amazon →
GEAR AID Seam Grip WP Waterproof Sealant and Adhesive for Jackets, Tents, Sleeping Pads and Outdoor Fabric | Repairs Rips, Seals Seams on Nylon, Canvas and Vinyl
Seam Grip WP is a waterproof sealant that keeps you and your gear dry. As a tent seam sealant, it works on all types of fabric including nylon and canvas. Seal up to 12’ of tents or apply this clear g
Visit on Amazon →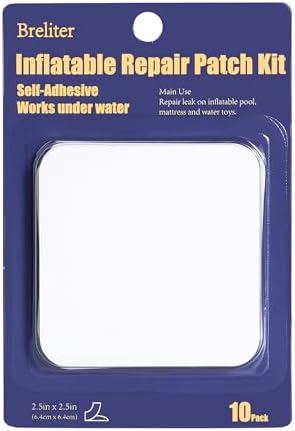
Breliter Inflatable Patch Repair Kit - Waterproof TPU Pool Repair Tape, Heavy Duty Repair Patch for Air Mattress, Bounce House, Inflatable Toys, Tent, Swimming Ring - 10 Packs of 2.5in x 2.5in, Square
Seam Grip WP is a waterproof sealant that keeps you and your gear dry. As a tent seam sealant, it works on all types of fabric including nylon and canvas. Seal up to 12’ of tents or apply this clear g
Visit on Amazon →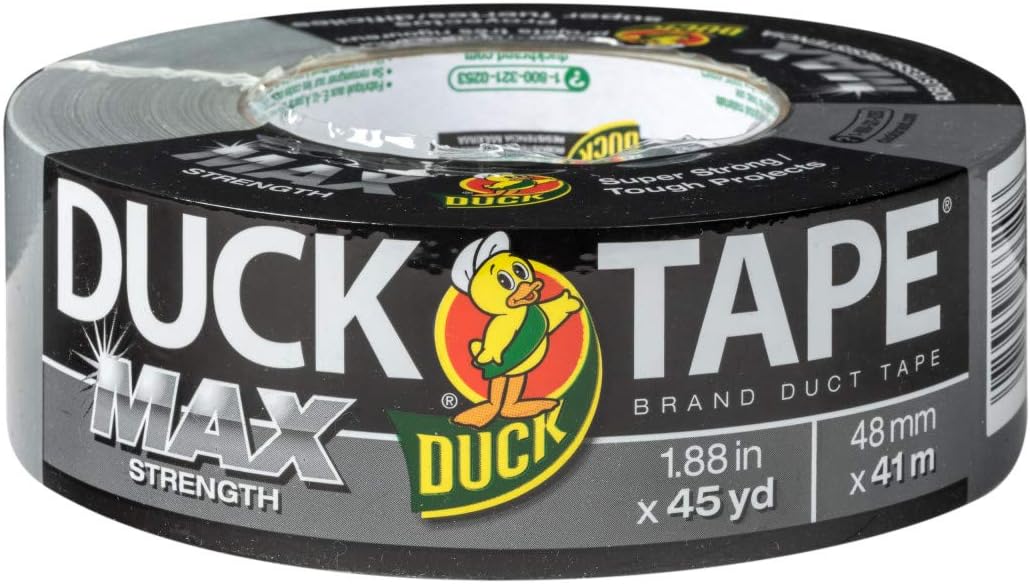 Visit on Amazon → Duct tape (temporary) | Check price | Gets you through the weekend | Not a real fix, will fail |Before I get into the how, one thing I need to say: I don't track prices day to day, so I won't pretend to know next week's. What I can tell you is what works based on two years of patching my own hammocks and the hammocks of everyone at my annual hammock camp.
Why Hammocks Tear In The First Place
The same thing that makes parachute nylon great is what makes it vulnerable. It's thin. It's lightweight. It packs down to the size of a grapefruit. And it rips when you snag it on something sharp.
I've seen the same hammock praised for being "exceptionally cozy" and slammed for being "quite thin and lets the wind and light through." Both are true. The trade-off is the whole game.
The most common tear spots are the corners where the fabric meets the end loops, the edges along the hem, and anywhere the fabric rubs against a rough surface over time. My straps broke in the first few uses once because I hung from rough ceiling hooks. That was my fault. The hooks chewed through the webbing like sandpaper.
The Quick Assessment: Can You Fix It?
Not every tear is worth fixing. Here's how I decide:
Fix it if the tear is smaller than two inches and not along a seam. A small snag in the middle of the fabric is a patch job. A tear along the hem where the fabric meets the gathered end is also patchable, but you need to reinforce both sides.
Replace it if the tear is bigger than four inches or the fabric is degrading. I've had a hammock rip in half when I got in it. That's not a tear, that's a failure. At twenty bucks, just buy a new one.
Consider the age. If your hammock is two seasons old and the fabric is already showing wear, patching it buys you maybe another season. If it's a month old and you snagged it on a branch, patch it and get years more out of it.
The Patch Method That Actually Works
The Gear Aid Tenacious Tape is my go-to. It's a clear patch that sticks to nylon and stays stuck through rain, sun, and repeated hangs. I've had a patch on one of my Kootek hammocks for two years now, through a full season of Pacific Northwest weather, and it's still holding.
Here's how I do it:
- Clean the area around the tear with rubbing alcohol. Let it dry completely.
- Cut the patch to size. You want it to overlap the tear by at least an inch on every side.
- Round the corners of the patch. Square corners peel up easier.
- Apply the patch to the inside of the hammock, not the outside. You'll barely see it, and it won't catch on anything.
- Press firmly for a full minute. The heat from your hands helps the adhesive bond.
- Wait an hour before putting weight on it.
That's it. The whole process takes ten minutes, and the patch is invisible from the outside.
One buyer wrote in June, "I used Tenacious Tape to patch a tear in my hammock and it held up no problem through a week of camping in the rain." That matches my experience.
The Seam Tear Problem
Seam tears are different. The fabric isn't torn, the stitching has pulled loose. This happens most often at the gathered ends where the fabric is compressed into the end loop.
For seam tears, you need something that seals the fabric back together, not just covers it. Gear Aid Seam Grip WP is a urethane-based sealant that flexes with the fabric and creates a waterproof bond. I've used it on a hammock where the seam at the foot end was pulling apart, and it's held for a year so far.
The downside is the cure time. You need to apply it, let it dry for 24 hours, and resist the urge to test it before it's ready. I've made that mistake. You'll want to hang it up and come back tomorrow.
Apply the Seam Grip to both sides of the tear, press the fabric together, and use a clamp or clothespin to hold it while it cures. A small dab goes a long way. You don't need a lot.
The Temporary Fix: Duct Tape
If you're at camp and the tear happens now, duct tape will get you through the weekend. I've done this. It works for a night or two.
But duct tape is not a fix. It fails when the fabric stretches and the tape can't keep up. By the end of a weekend, the edges of the tape start curling and the tear starts spreading. Use it to get home, then do the real patch.
What Not To Do
I've seen people try all sorts of things. Here's what doesn't work:
Super glue. It dries stiff and cracks when the fabric flexes. The tear will reopen within a few hangs, and now you've got a stiff patch that's uncomfortable to lie on.
Fabric glue meant for crafts. Same problem. It's not flexible enough for nylon under load.
Sewing the tear. You can do it, but the needle holes create new stress points. Unless you're using a heavy-duty needle and upholstery thread, the stitches will pull through the thin fabric.
Iron-on patches. The heat needed to activate the adhesive will melt your parachute nylon. Don't even try it.
When To Just Buy A New Hammock
I own five hammocks right now. Three are the same model because I keep giving them as gifts and then buying another for myself. At the $20 price point, hammocks are consumables. They're cheap enough to replace and good enough to love.
If the tear is in the middle of the fabric and bigger than your hand, it's not worth patching. The fabric around the tear is already weakened, and the patch will just transfer the stress to the next weak spot.
If the tear is along the hem and the fabric is fraying, the structural integrity is gone. Patching a frayed edge is like putting a bandaid on a broken arm.
And if your hammock is more than three years old and has been through a few seasons of weather, the UV exposure has already degraded the nylon. Even if you patch the tear, the next snag will be worse.
The Cost-Per-Day Math
This is where I land on the whole repair question. A patch costs eight bucks. A new budget hammock costs twenty. If the patch buys you another two years of use, that's less than a penny a day for the patch. Worth it.
But if the hammock is already showing its age, the patch is just delaying the inevitable. I've patched hammocks that were already on their last legs, and I always end up replacing them within a season anyway.
My rule now: if the hammock is under a year old, patch it. If it's older than two years, replace it.
How To Prevent Future Tears
The best fix is the one you never need. Here's what I've learned from twelve years of hanging hammocks:
Use tree straps, not rope. Wide webbing straps distribute the load and don't create pressure points. Rope digs into the fabric and creates stress concentrations.
Check your hang points. Rough surfaces like concrete, brick, or untreated wood will chew through fabric and straps. I ripped a set of straps on rough ceiling hooks and learned that lesson the hard way.
Hang higher than you think. You'll want to hang this higher than you think it should be because there's a lot of stretch once you put weight in it. I once hung one and was an inch from the ground by midnight. When the hammock sags that low, the fabric drags on the ground and picks up debris that wears it down.
Take it down when you're not using it. Leaving a hammock up for weeks at a time exposes it to UV degradation and weather. I left one up through an entire season once. It faded, weakened, and tore the first time I used it the next spring.
Keep it away from Juniper's claws. My dog has her own opinions about hammocks. She's claimed the Kootek as hers. She's also put a few small snags in it with her nails. Those are exactly the kind of small tears that Tenacious Tape handles perfectly.
The Bottom Line
A torn hammock is not the end of the world. It's an eight-dollar fix and twenty minutes of your time. Keep a roll of Tenacious Tape in your camping gear and you'll never be caught without a solution.
If the tear is small and the hammock is young, patch it and keep going. If the tear is big and the hammock is old, thank it for its service and buy a new one. At twenty bucks, it's the best deal in outdoor gear, and it's worth having a backup.
Now go fix your hammock and get back to hanging. The trees aren't going anywhere.